Event floor plan: One floor plan from the booking page to the floor
Send us your layout and our team designs your floor plan during onboarding. Guests book from it, your team runs the night on it, and it prints as a seating plan on white paper.
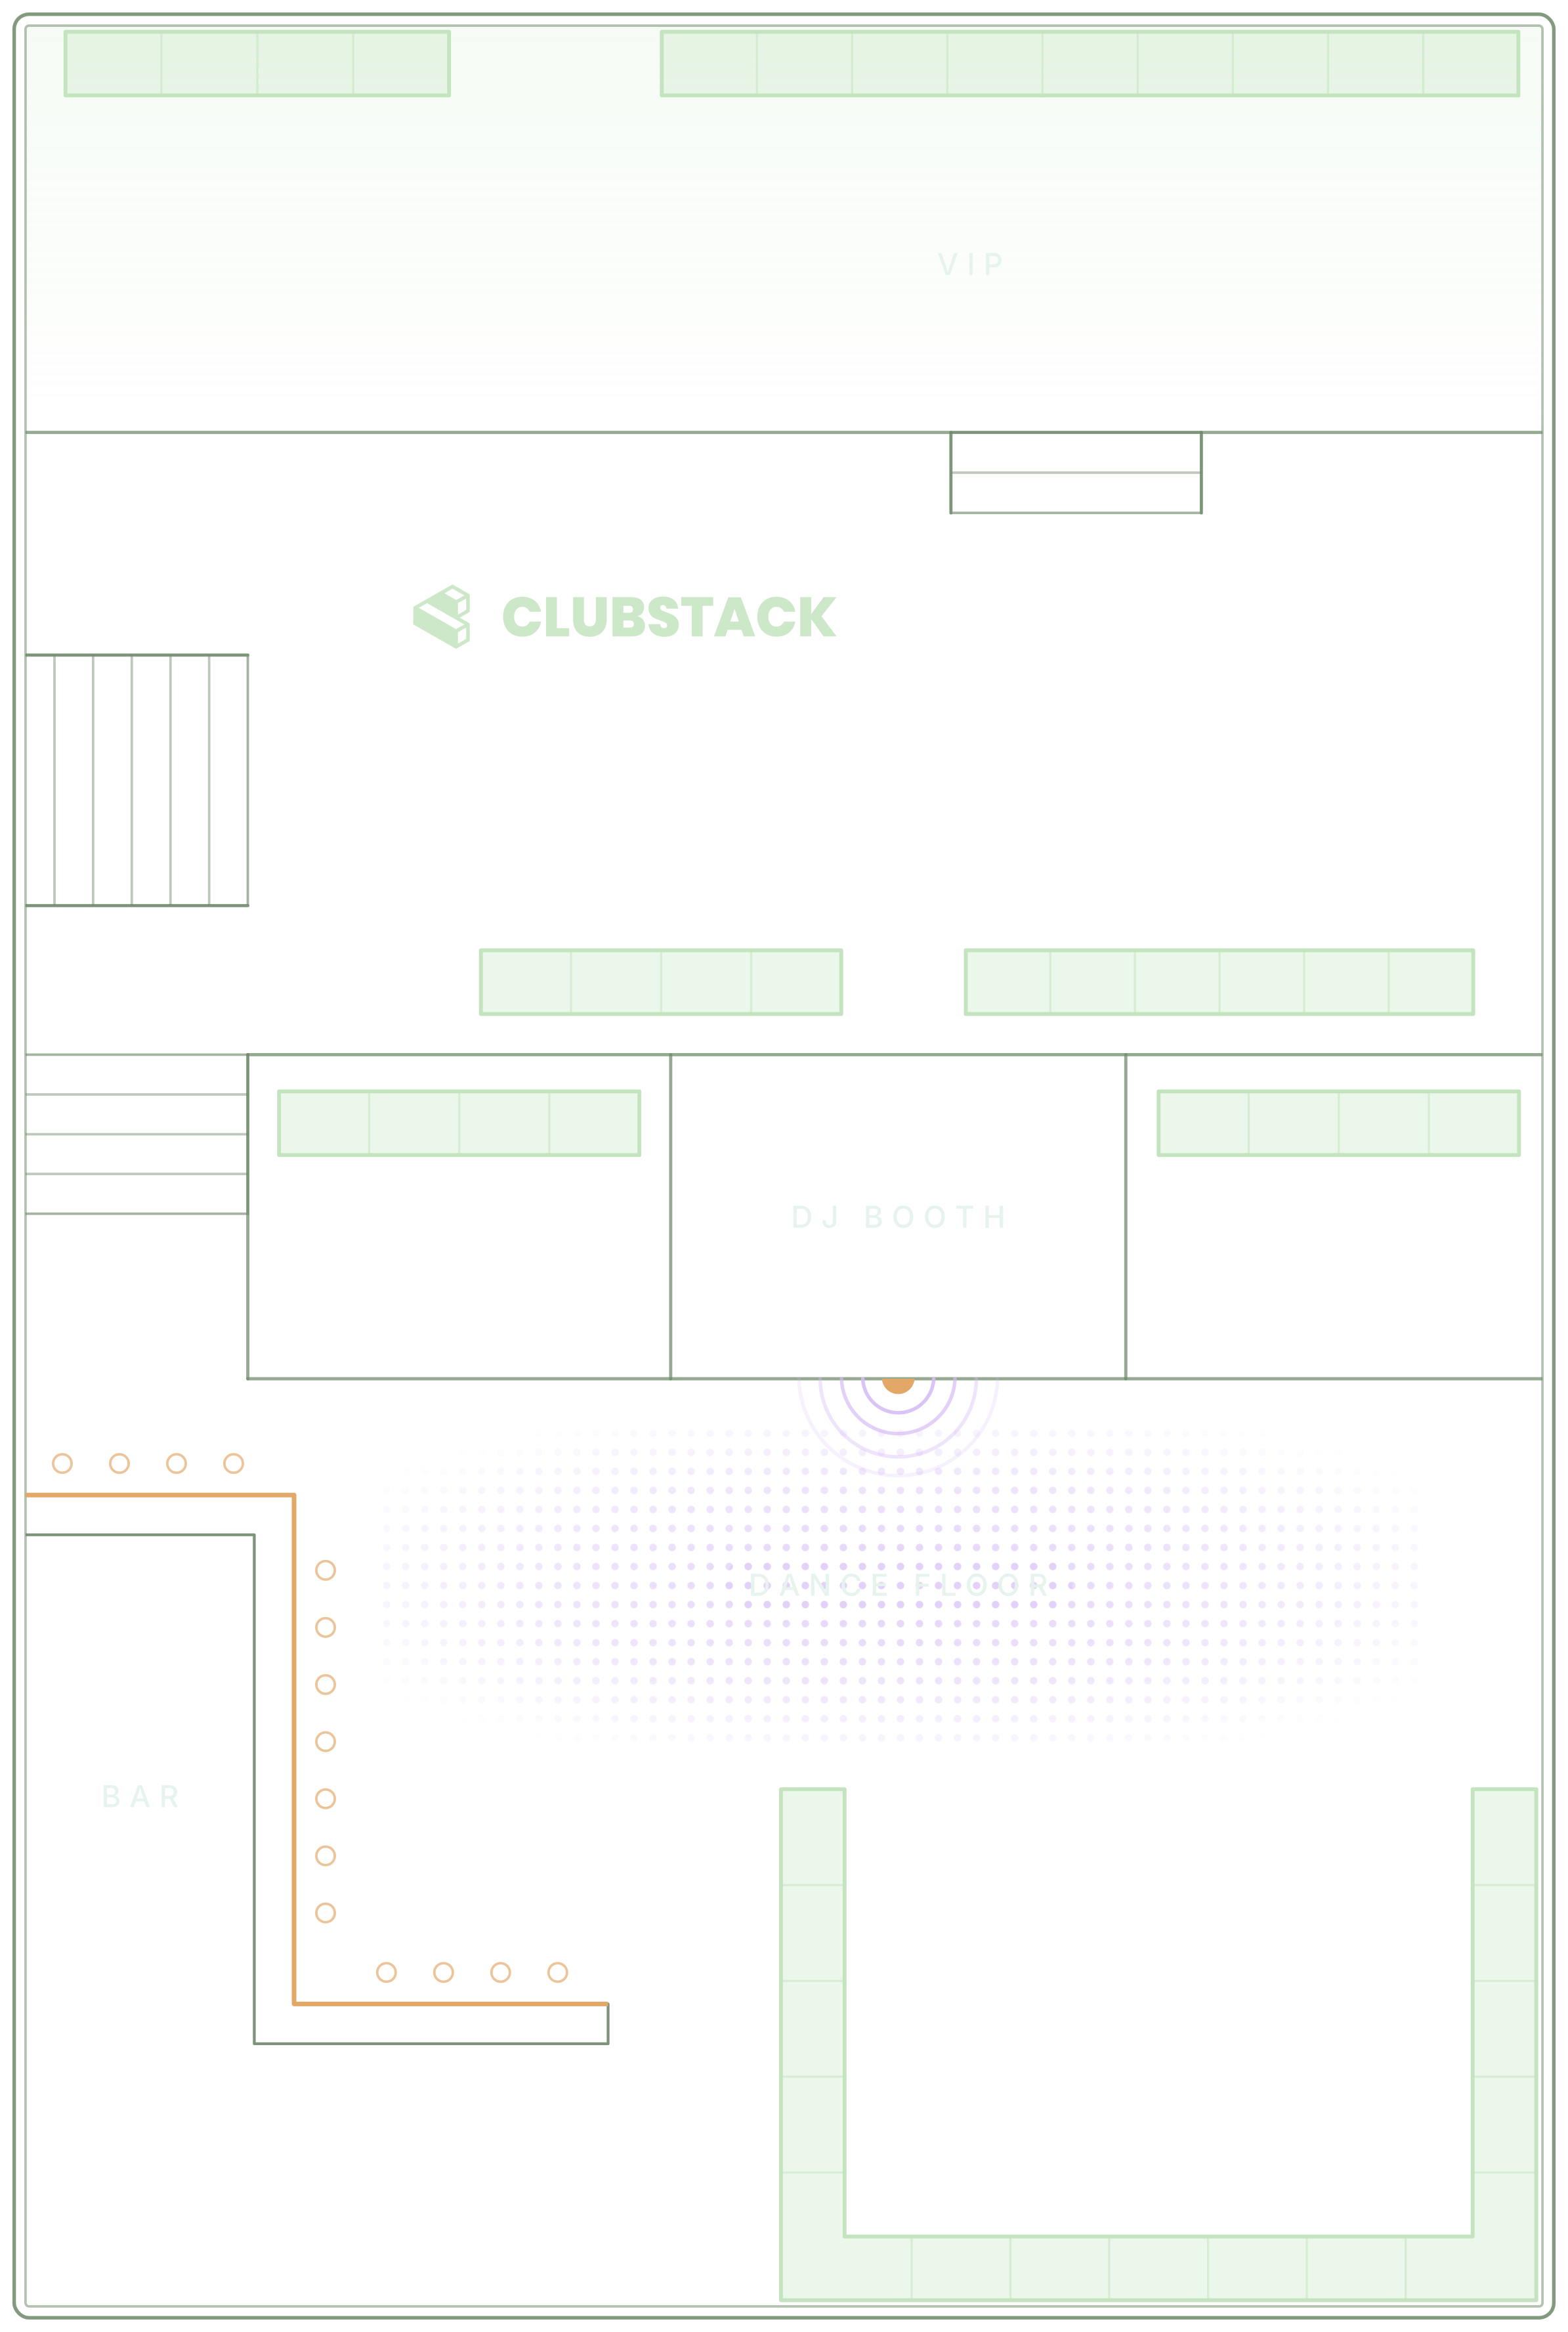
From your layout to a full room.
How the floor plan is made and used, in order.
We draw your room
Send us the layout you have, and our team designs your floor plan from it during onboarding. You can change it any time in the layout editor, on a computer.
Read the guideSet the sections and tables
Group tables into sections such as Main Floor or VIP, each with its colour, capacity per table, deposit and minimum spend, and place every table on the map.
Read the guideGuests book from it
At checkout guests see your room and choose a section, with its deposit and minimum spend. Each event decides which sections are open and at what price.
Read the guideRun the night, then print it
On the Tables page each table fills with its booking’s status as the night goes. Print the seating plan, a list of seated parties with a picture of the room.
Read the guide
In the product.
Event floor plan as your team and your guests see it.
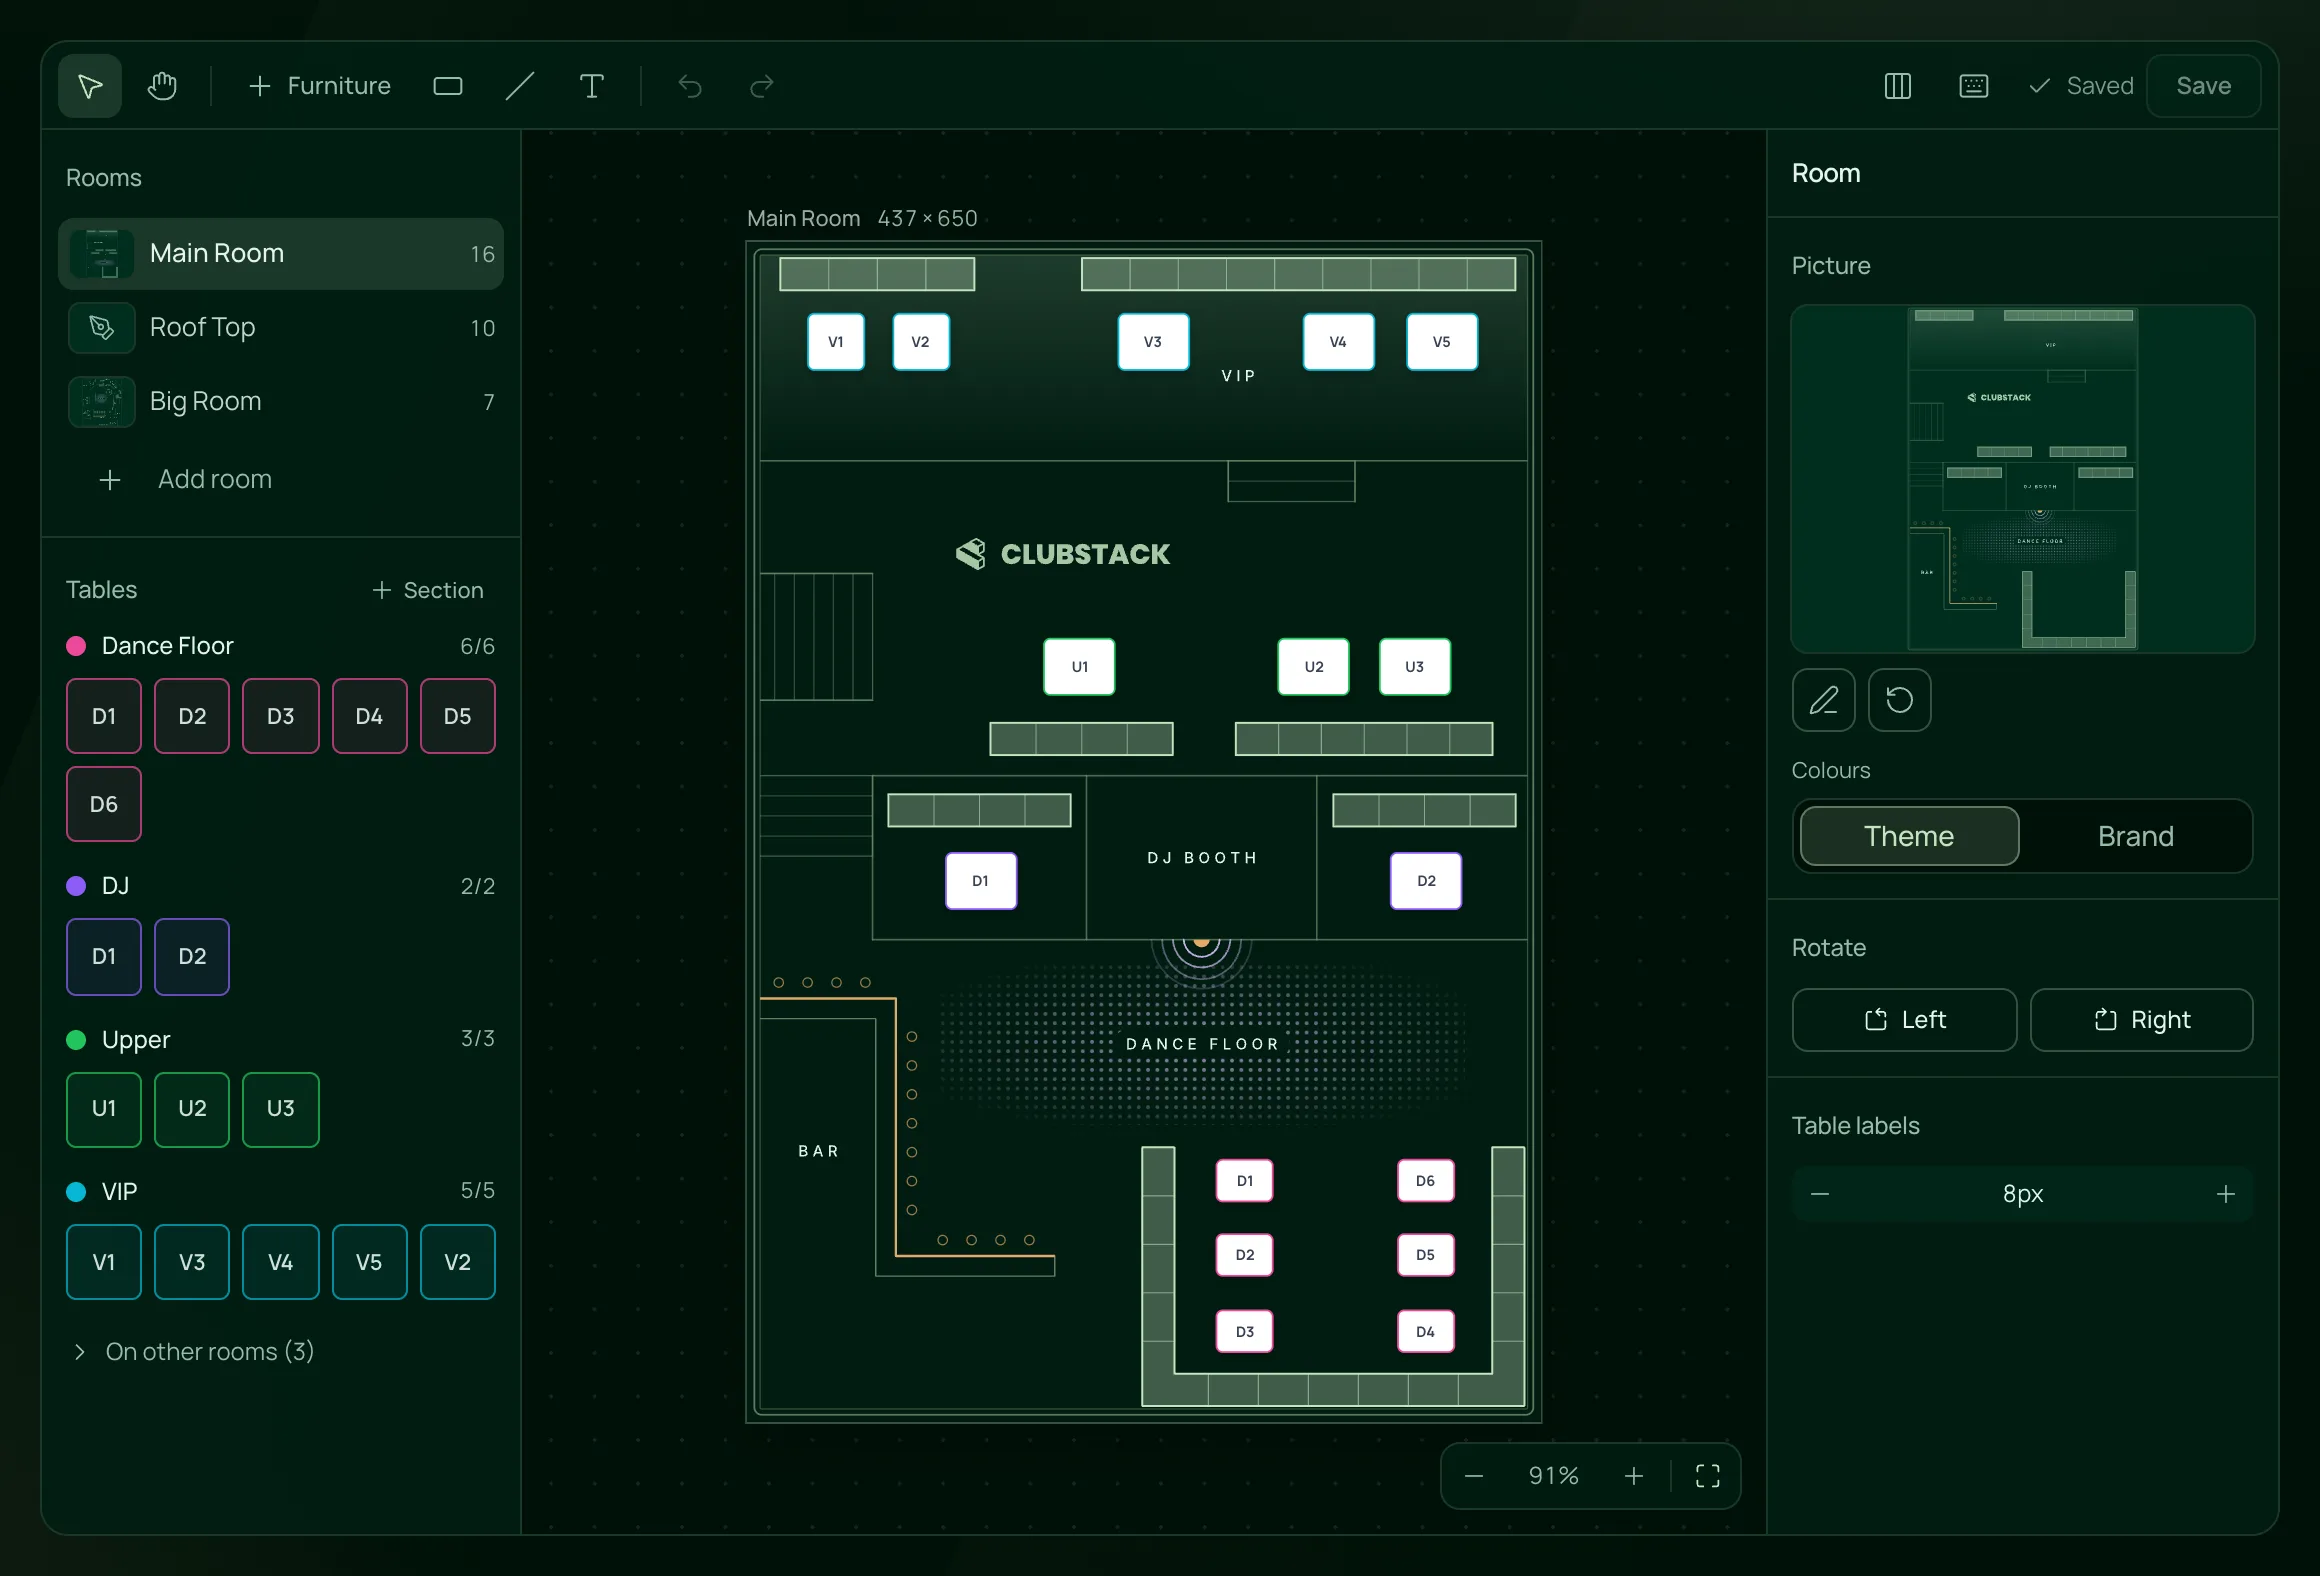
Your room, drawn once
Rooms, sections and tables placed around the bar, the booth and the dance floor, in the layout editor our team sets up with you.
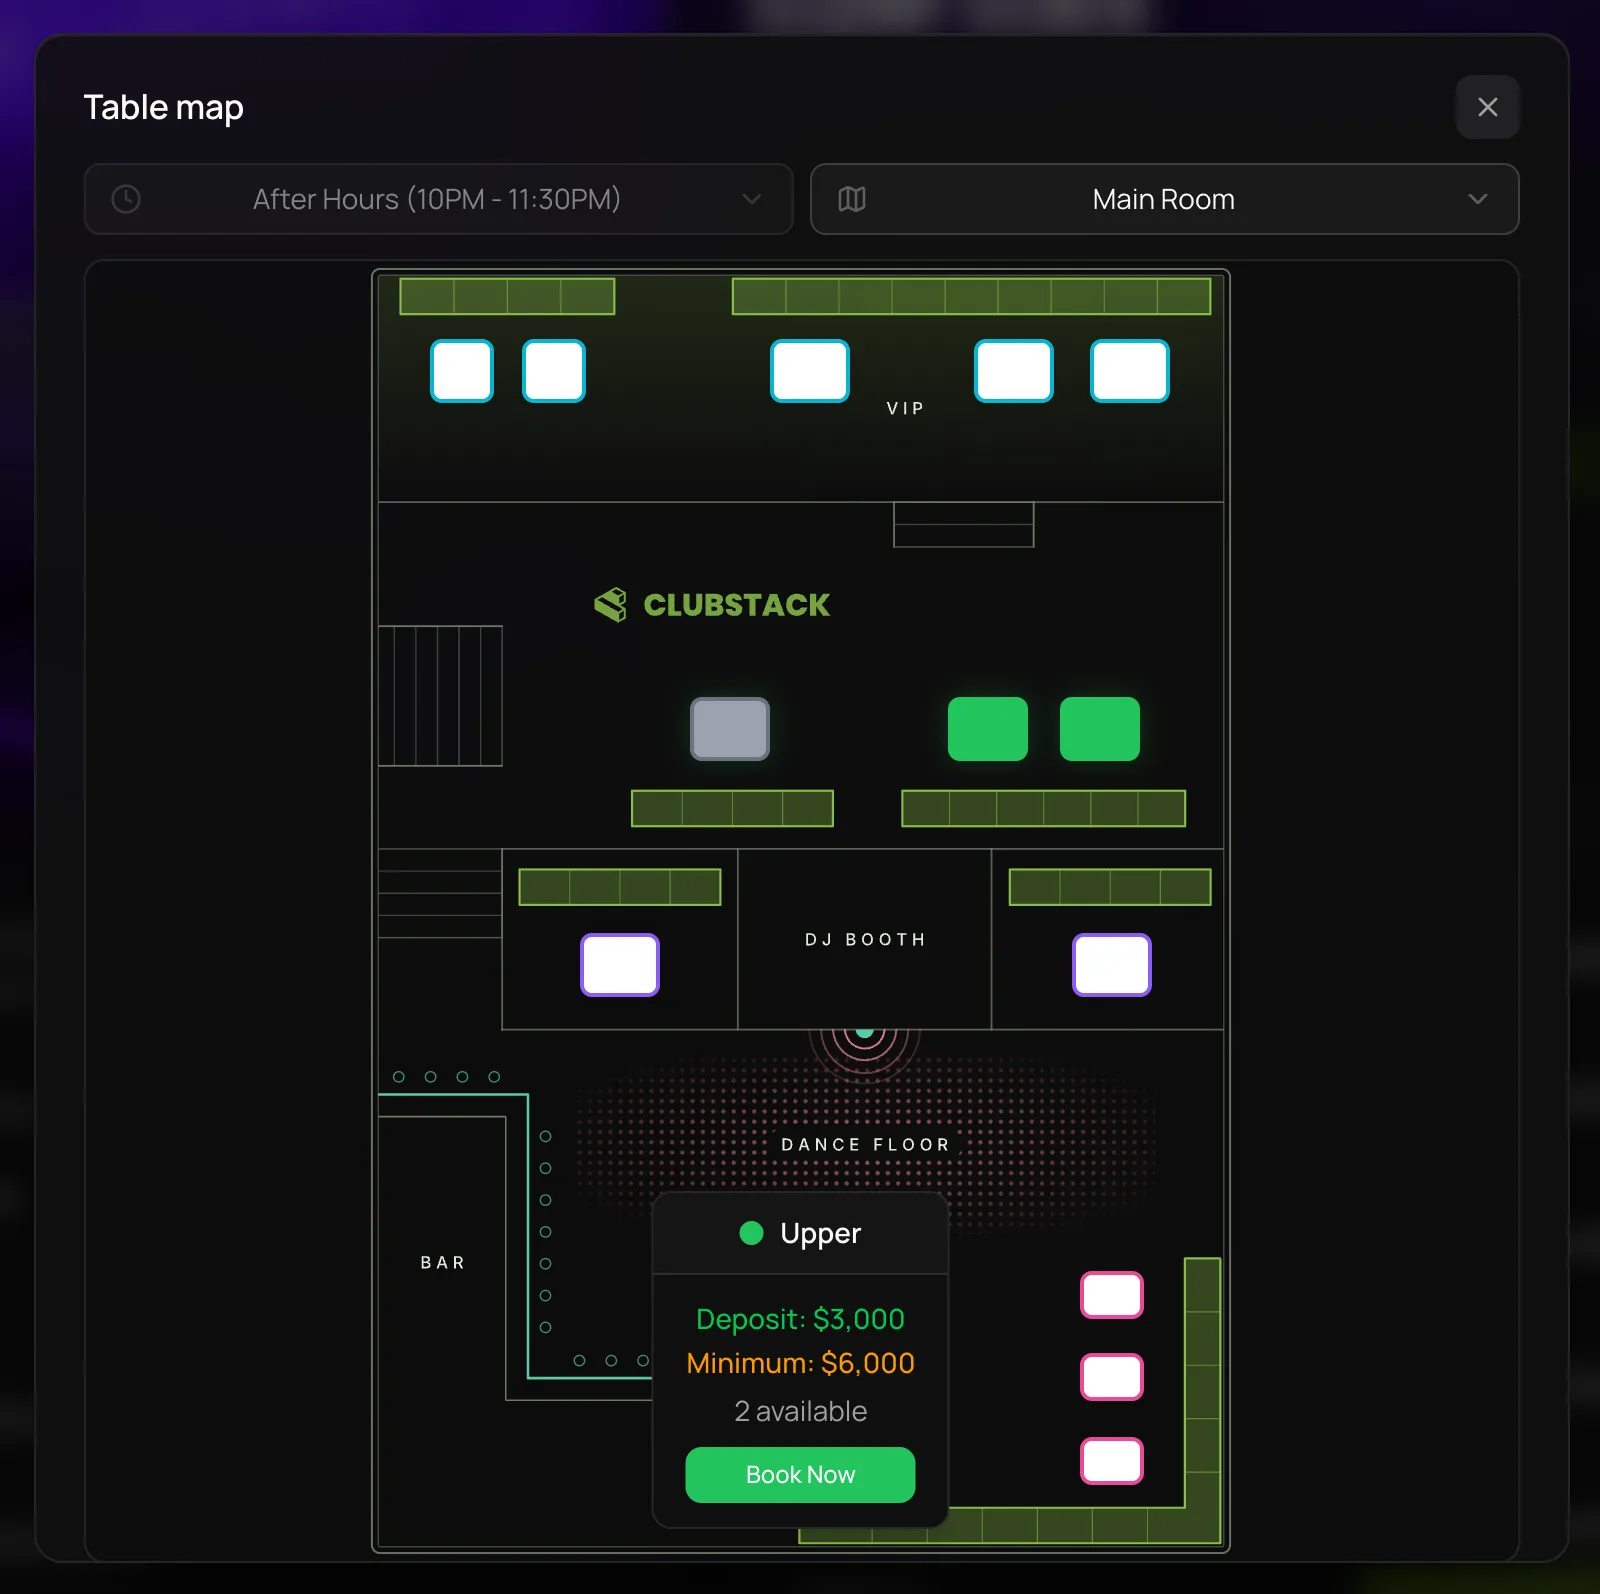
The map your guests book from
Guests open the room, pick a section and see its deposit and minimum before they book.

Everything in the floor plan.
The layout editor, the live room and the print, on the one plan.
The layout editor
The layout editor
Add each room, from the main floor to the roof, with a picture of it or drawn from scratch with walls, lines and labels.
Drag each table into place, square or round, at any size. Guides snap it into line with the next table or the middle of the room.
Booths, bars, a DJ station, a dance floor, stages, stairs and rope lines that grow a seat or a post at a time.
Turn the whole room left or right with the table numbers kept upright, and edit an SVG drawing part by part.
Sections
Main Floor, VIP or a mezzanine, each with its colour, capacity per table, default deposit and minimum spend.
Open or close sections for a night and change their deposit, minimum and limit, without touching the floor plan.
Sell the same tables more than once in a night, with each seating priced on its own.
On the night
Each table fills with its booking’s status colour, so a host reads the room at a glance.
Drag a reservation onto a free table, or onto a taken one to swap the two parties.
Link tables for a large party, and lock a table so it can’t be booked or seated.
Tonight’s floor is saved on the phone, so the map still opens when the signal drops.
Print and brand
A list of seated parties and a picture of the room, drawn for white paper.
Show guest names or minimum spends on each table with one button.
Guests see the room in your brand colour, and your dashboard can paint it in your theme.
Checkout, the Tables page and the print draw the room exactly as the editor does, at any size.
For rooms that sell by the table.
- NightclubsBooths, VIP sections and a mezzanine on one map, booked by section and run live on the night.VenueStack for nightclubs
- Event venuesSeveral rooms on one account, each with its own table layout.VenueStack for event venues
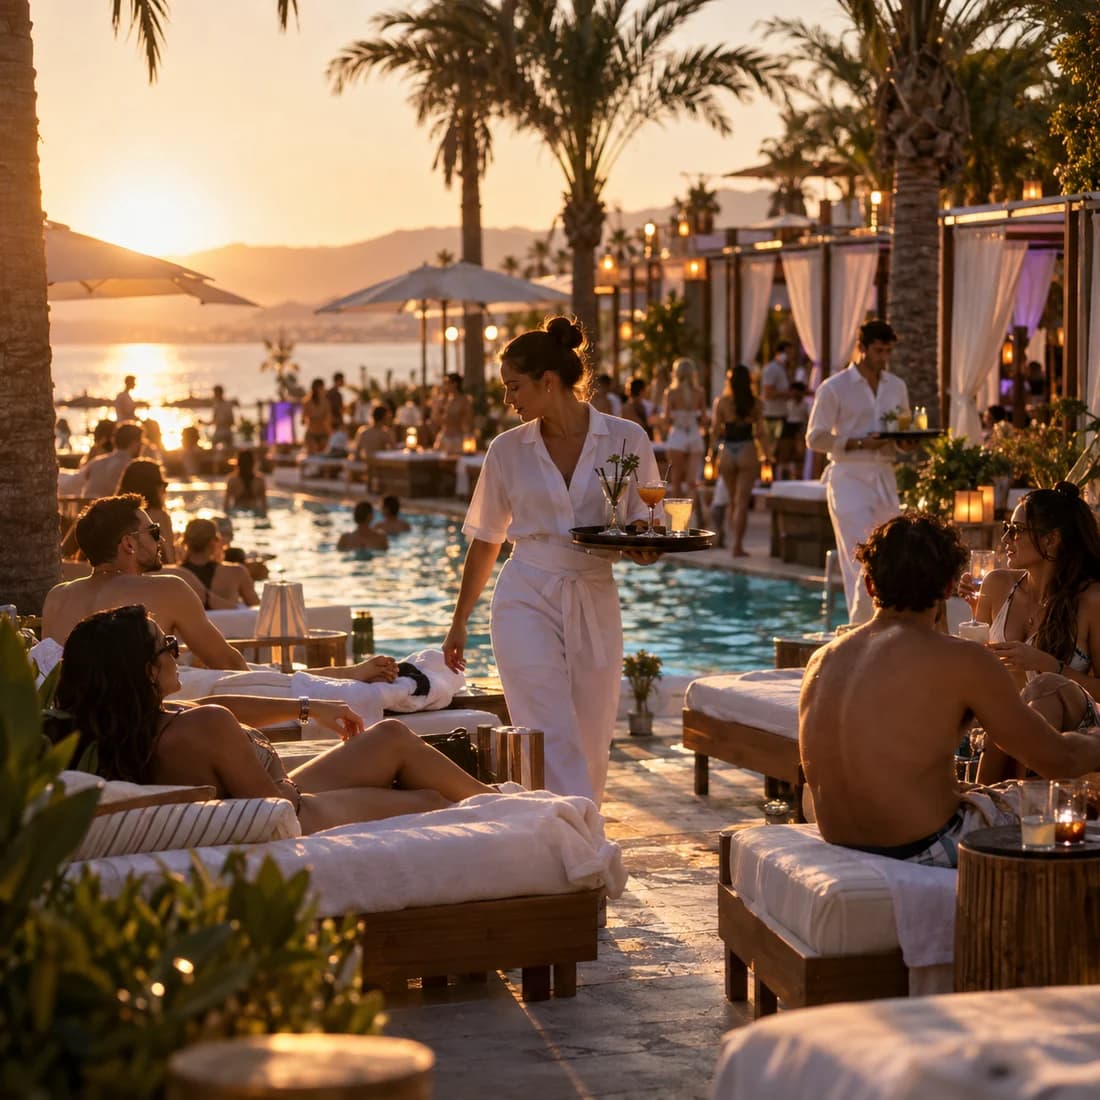
- Beach clubsDaybeds, cabanas and the pool deck drawn as sections and sold by timeslot.VenueStack for beach clubs


On the one plan.
Event floor plan comes with every other feature on one published price, with a free trial before you pay.
One plan. Everything included.
Every feature on every account, and you can cancel whenever you like.
- Event calendar widget
- Ticket sales
- Table management
- Deposits
- Add-ons
- Passes
- Email campaigns
- Reporting
- QR door check-in
- Guest profiles
- Branded public pages
- Team roles and permissions
Questions, answered.
More questionsA drawing of your room with every table on it, grouped into sections. Guests book from it at checkout, your team runs the night on it, and it prints as a seating plan.
No. Our team designs your floor plan from your layout during onboarding. You can change it whenever you like in the layout editor, which needs a computer.
No, they choose a section. Your team picks the table on the night, or turns on auto seat to give each paid booking the next free table in its section.
No. VenueStack seats a party at a table, not each guest at a chair. It suits venues that sell tables and sections night after night, rather than a seat-by-seat chart for a wedding or a gala.
Yes. Add each room in the layout editor, with its own picture or drawing and its own tables. Every event uses the same sections, with its own prices.
It’s included in the one VenueStack plan, with every other feature, and so is our team designing your floor plan during onboarding. There’s a 14-day free trial, and the price is on our pricing page.
Keep reading.
The features next to event floor plan, and the guides behind it.
Playbooks


Your next event starts here.
Sell tickets, book tables and check guests in from one place.