Loading articles…
Loading articles…
Use the how-to guides
Updated
The How-to guides walk you through VenueStack on its own pages, one part at a time. Some chapters set things up with you, using sample content you can change later.
Start a guide
- Go to Settings → How-to guides. The list opens over the page.
- Click Start beside The full guide to run every chapter in order, or Start beside one chapter.
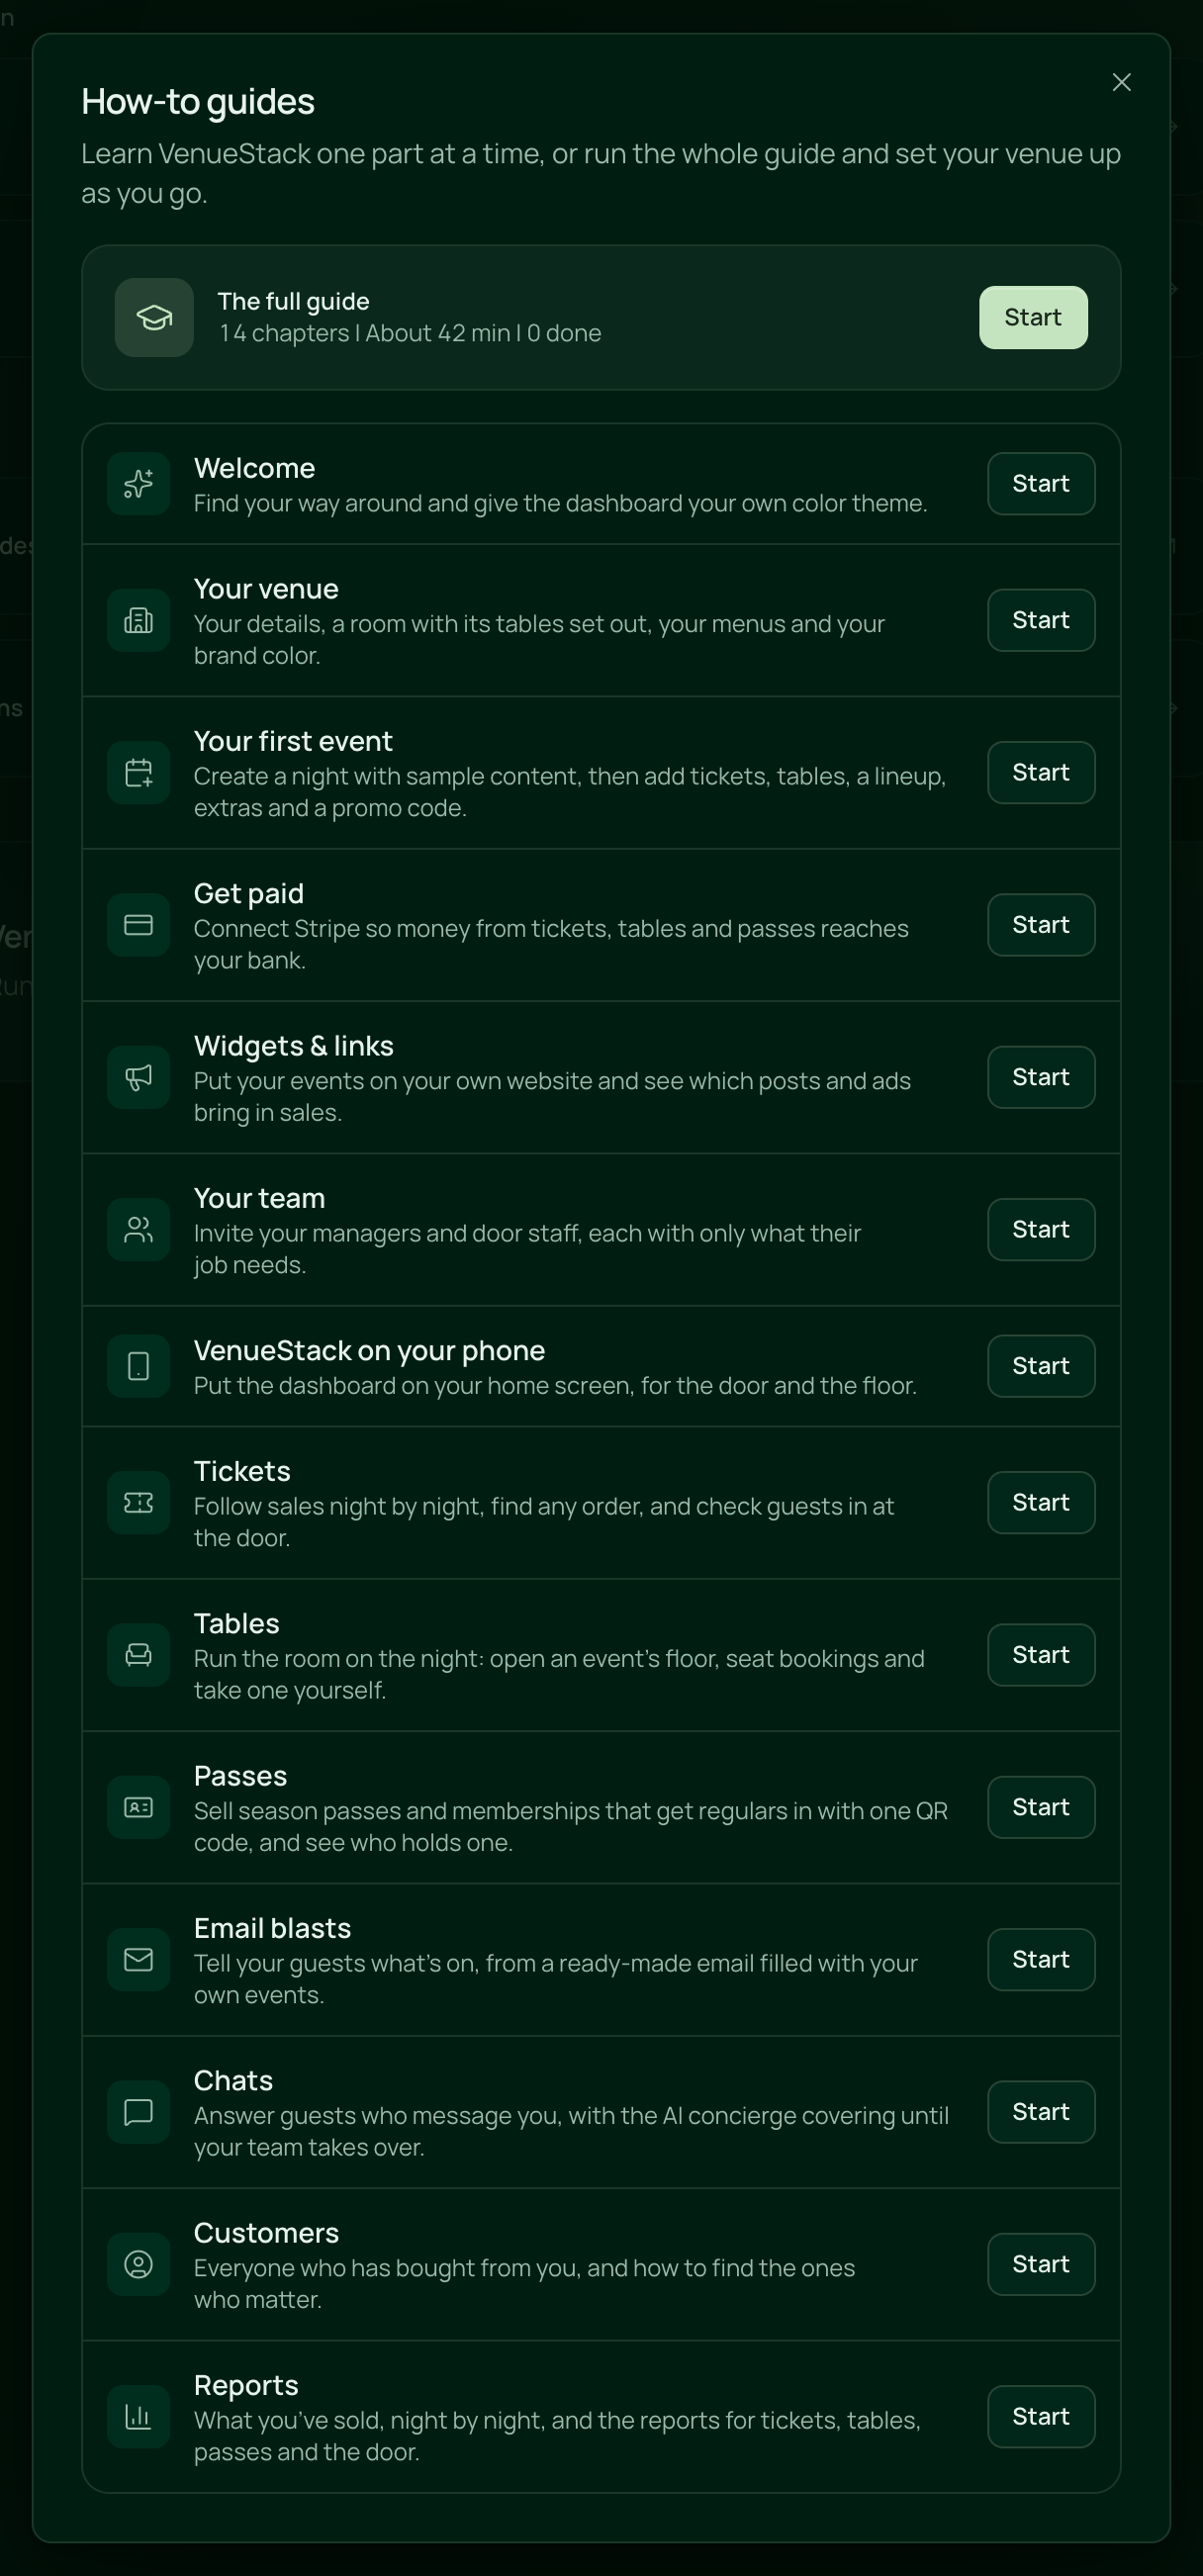
You can also click the headphones button, then How-to guides.
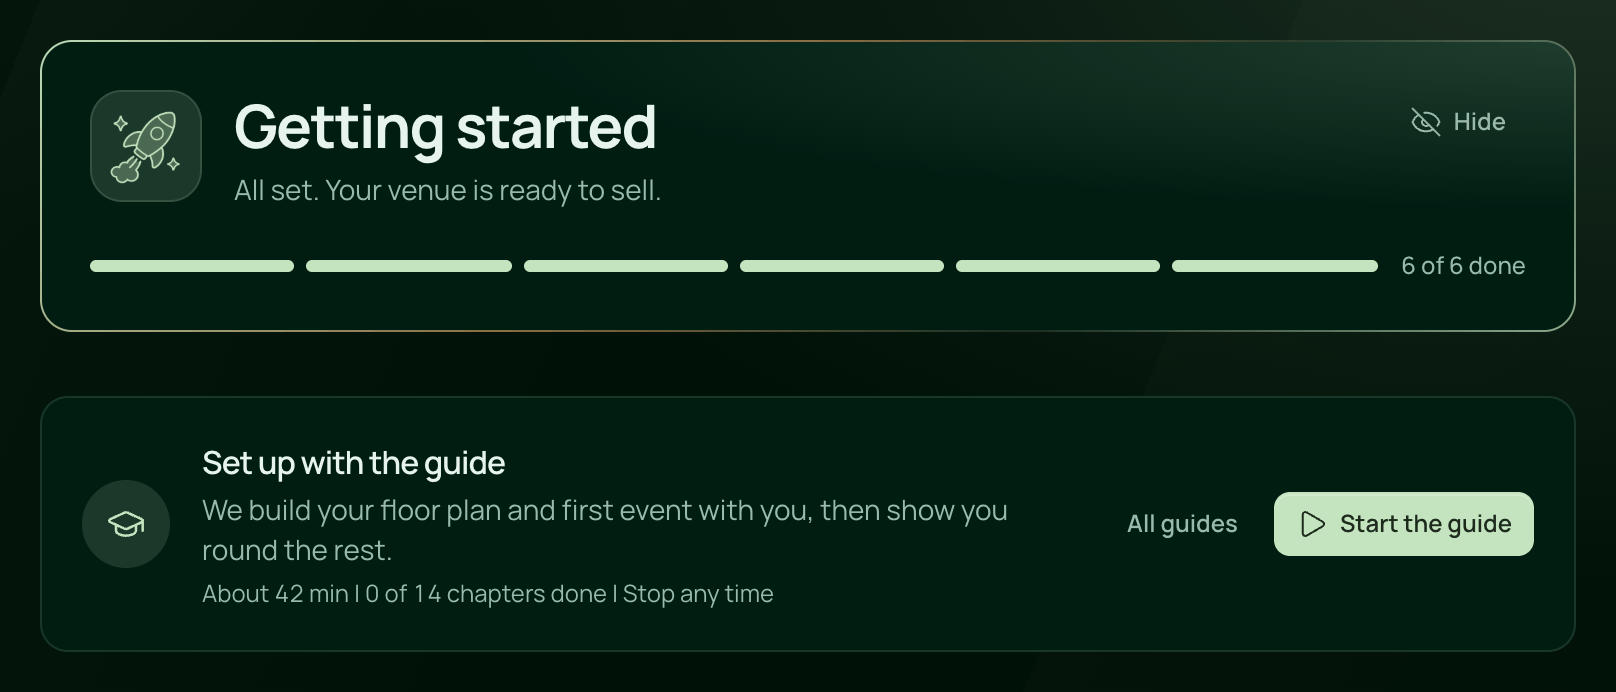
Owners have the guide on the Getting started page too. Set up with the guide has Start the guide (Continue the guide once you have begun) and All guides. Each checklist step that isn't done has Show me, which runs the chapter for that step.
The full guide runs these chapters in order, starting with what you need to sell: Welcome | Your venue | Your first event | Get paid | Widgets & links | Your team | VenueStack on your phone | Tickets | Tables | Passes | Email blasts | Chats | Customers | Reports. VenueStack on your phone isn't offered in the installed app.
Finished chapters show a check mark and Replay. Each person on your team has their own progress.
Follow a guide
A card points at each part of the page and explains what it is for. Click Next or Back to move, and End guide to stop.
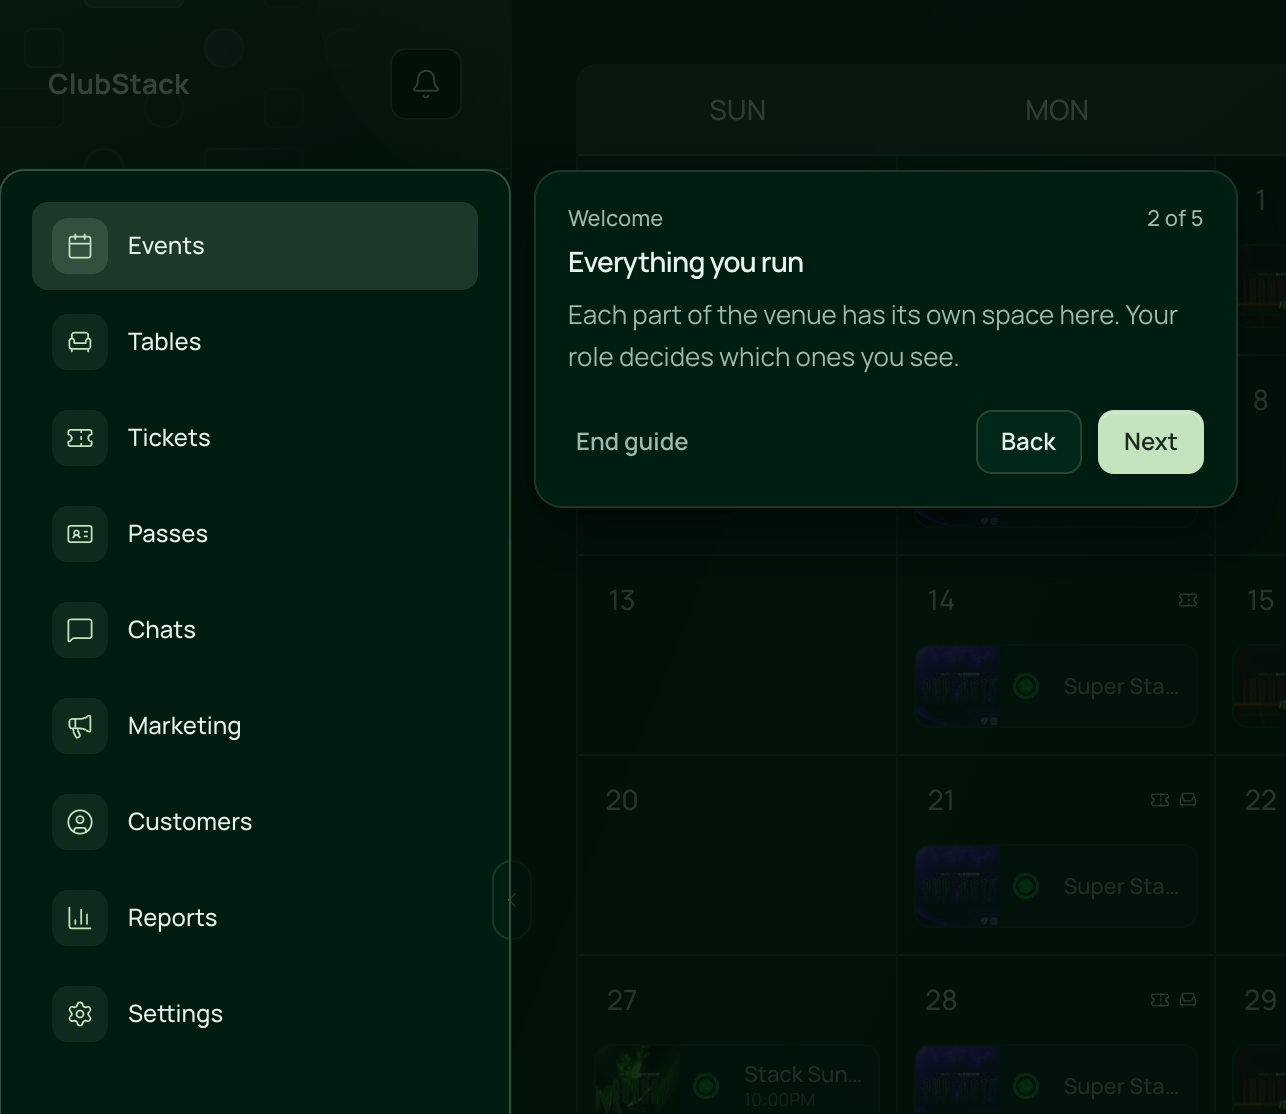
- Your turn means the guide is waiting for you to click the highlighted control. It moves on when you do, or click Skip step.
- Press Esc on the card to end the guide.
- If you go to another page, the guide pauses. Guide paused waits in the corner: click Resume to carry on, or × to end it.
- Reloading the page picks up where you were.
- In the full guide, a card between chapters shows what's next. Click Continue, or Stop here to come back later.
What the guide sets up
Some chapters have you do things as you go:
- Welcome has you pick a color theme for the dashboard, for everyone on your team.
- Your team opens the invite form, so you can invite your first teammate there and then.
- VenueStack on your phone opens the steps to add it to your home screen.
Two chapters create real things in your venue, with sample content:
- Your venue adds a room, Main Room, with a sample floor plan drawing and the sections VIP, Dance Floor, DJ and Upper. On a computer you place and resize a few tables in the Layout Editor, and Place the rest like the sample sets out the others. On a phone, Place tables for me does it all. You also pick your brand color.
- Your first event creates Opening Night on the coming Friday with a sample photo, a General Admission ticket (20 in your currency, 100 available), table service, a headliner, a Coat check add-on and the promo code WELCOME10. It stays a draft, so guests don't see it until you publish it. The chapter ends at your booking page, the page guests buy from.
Already have your own? Each of these steps has Skip this step (or Skip for now), so you don't add samples you don't need.
Change or delete the samples any time:
- Rooms, sections and the Layout Editor: Settings → Tables & Floor Plan.
- The event and its tickets, tables, artists, add-ons and promo codes: the event's own page.
- Your brand color: Marketing → Widgets.
 VenueStack on your phoneRun your venue from your pocket.How to install